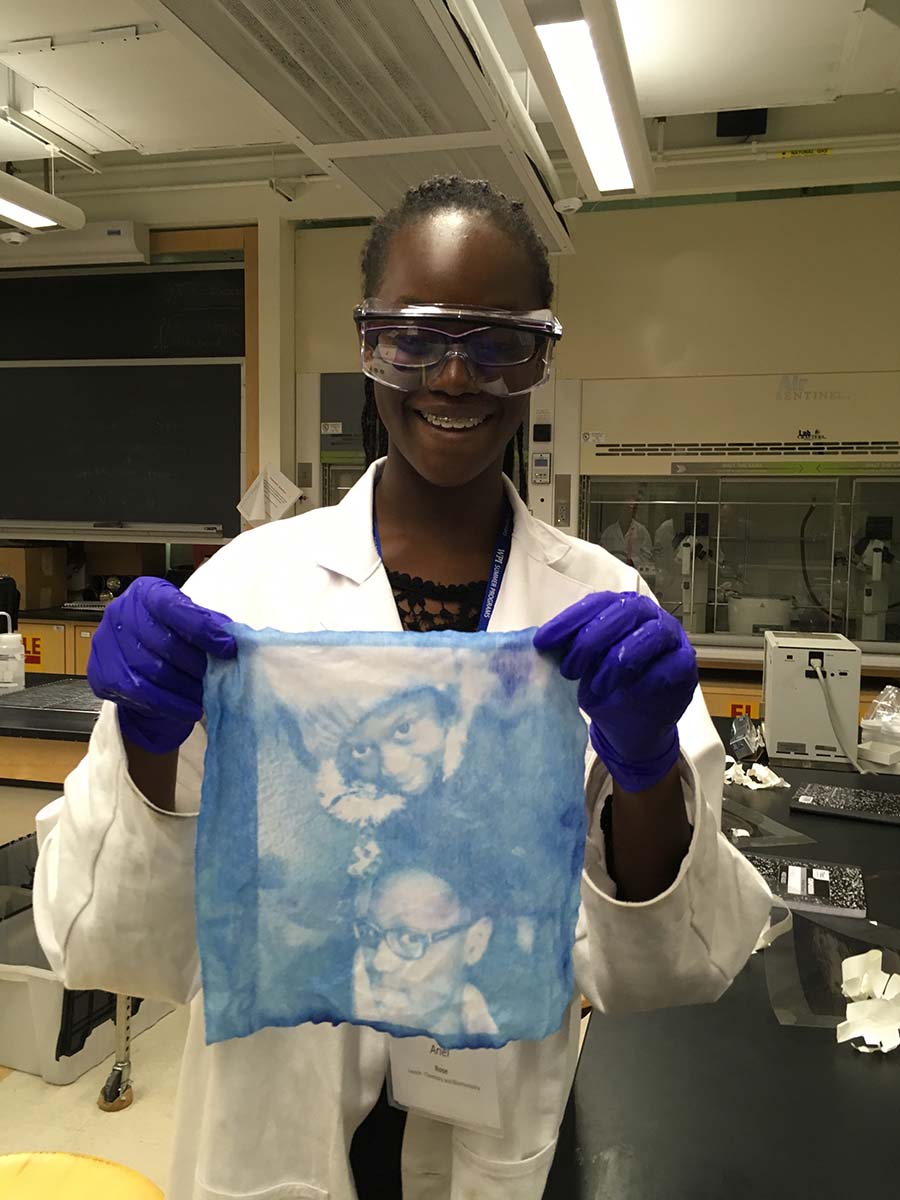
In WPI’s Chemistry and Biochemistry Launch Camp, students make cyanotype prints from images that they bring on a flash drive or email to the instructor.
That’s great, what are Cyanotypes?
Like any chemistry-based photographic technique from the 19th century (e.g. silver albumen, platinotype) cyanotypes rely on the interaction between a particular compound and light. In the parlance of photography this light sensitive compound is called a sensitizer.
That’s great, how do they do it?
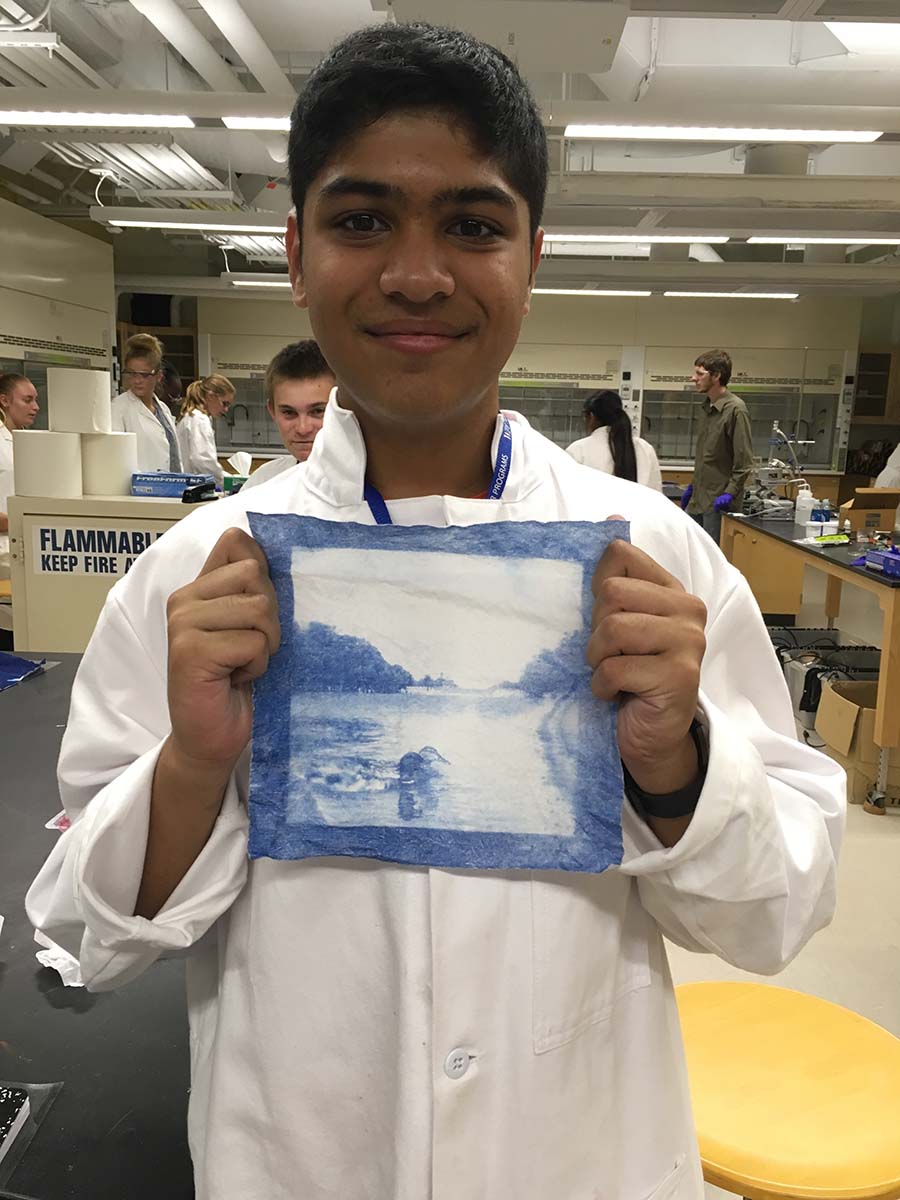
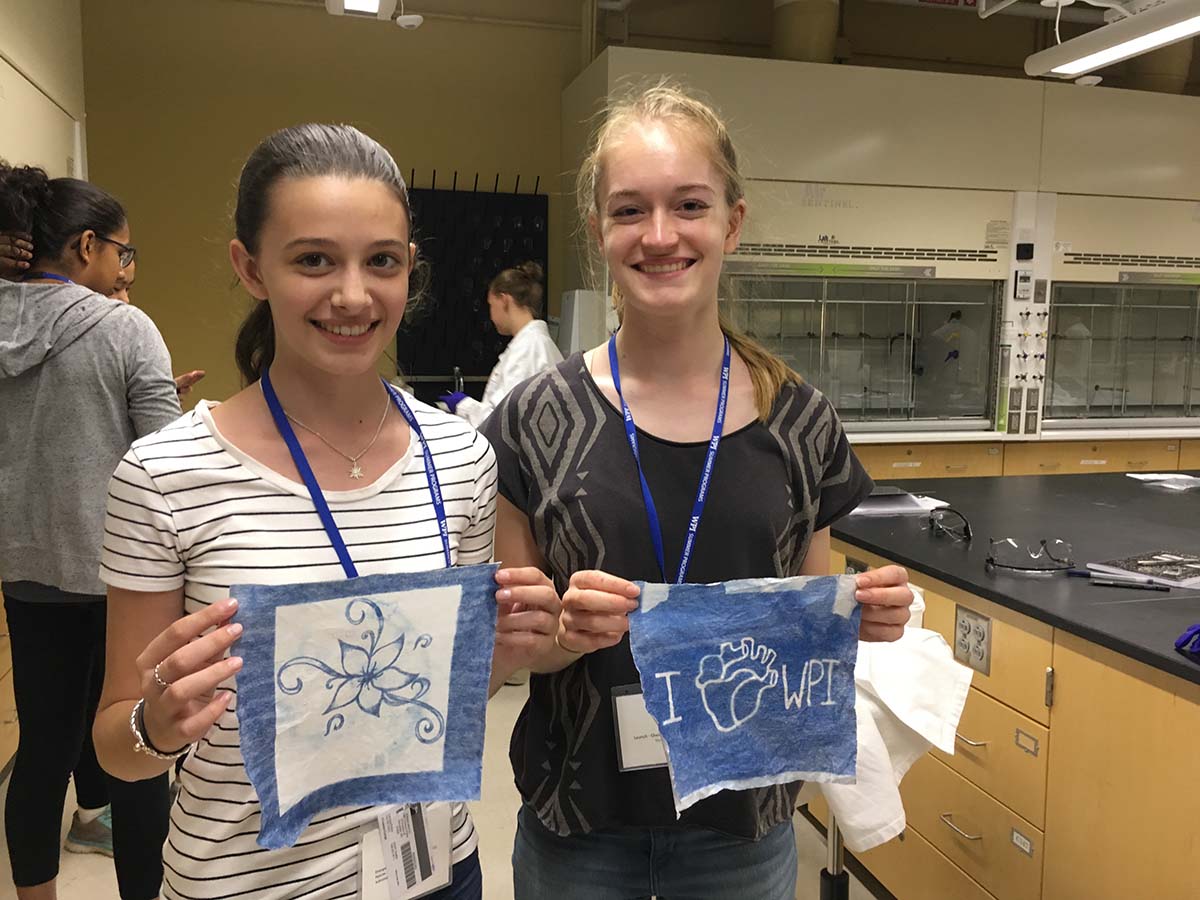
The students bring in JPGs that we print out as B&W images on transparency film. The best results come from high-contrast images. We also give the students options of drawing a picture on transparency film with a Sharpie if so desired. We use the drawings or images on transparency paper as a lithographic mask for making the cyanotypes.
For a table of six students, a half recipe of the “traditional” cyanotype process has worked great for us. That’s:
- 12.5 grams of ferric ammonium citrate in 50 mL of water
- 5 grams of potassium ferricyanide in 50 mL water
This particular experiment uses a lot of these two chemicals. As of the summer of 2018, 1 kg of ferric ammonium citrate from Alfa Aesar (through Fisher Scientific #AAA111990B) was $58.30. Similarly, 250 g of potassium ferricyanide, 98+%, from Alfa Aesar (through Fisher Scientific #AAA1694630) was $24.65. The individual iron solutions can be made well in advance of their use, kept in sealed bottles, and stored in the dark. Once mixed one probably only has a few hours to use them (we’ve never explored this).
Instead of watercolor paper, we use lint-free cloth wipes as the “paper”. Specifically, 9″ by 9″ TechniCloth wipes from Texwipe. A bag of 300 wipes was $21 on Amazon.com in 2018 (ASIN: B002EPN1AA). The disadvantage of Texwipes is a slightly lower resolution due to the cloth texturing. The upside is that they are incredibly robust and can literally be wrung out without breaking down. For a lab with young students or teenagers, this is a great tradeoff! Oh, and per sheet, they’re far cheaper than watercolor paper.
When the students are ready to go, they mix the two iron solutions together in a beaker, dip the Texwipes in until saturated, and gently wring them out. The Texwipes should be bright yellow when they come out of the reagent mixture. Students have dried their Texwipes in a 50 °C oven but we have had good results with somewhat damp wipes as well. The best reason for needing dry wipes has been that we have taped the transparency film and reagent-soaked wipes to the windows of our building, and the tape does not stick well to wet wipes. Alternatively, if doing this on a small scale, pressing the wipe and transparency between a table and a piece of glass works well too, but this has not scaled to a camp with 48 students. Acrylic sheets would probably not work, as they probably do not transmit enough UV to activate the formation of prussian blue, but we have not tested these. We would be very interested to know if these would work!! If this is a one-off, we are sure that a 13×9″ Pyrex baking dish would work very well in the sandwich configuration, but we have never tried this out.
Notes on exposures and developing the prints
In our experience, about 15 minutes of exposure in a bright, sunny, window works great with longer times needed with attenuated light. This is definitely something that one would need to experiment with, and it’s sometimes hard to gauge on less-than-ideal days. Importantly, the cloth may look perfect to the eye after just a few minutes, but it’s likely not! The surface layer of chemicals may react right away to form the characteristic Prussian-blue color, but if one starts to rinse the chemicals off with just the surface layer reacted, almost all of the blue is going to rinse off too! It really does take a while for everything to react, and it may even look like the sections of the cloth that aren’t supposed to react will have turned blue too. That’s okay! Remember with a limited reaction, only the chemicals on the surface react, and they wash away very well.
Per some sites elsewhere on the Internet, we have had very good success with a peroxide rinse following an initial water rinse. We have rinsed directly in a dilute H2O2 mixture (one capful of 3% H2O2 from the local pharmacy in ~500 mL or about one pint of water) followed by copious rinsing/wringing cycles until the water comes away clear.
If a smaller image is acceptable, we have also had great success with using small, handheld UV lamps. We have several UVP UVL-56 UV lamps in our department that have two different UV bulbs, one at 254 nm (UV-C region), and one at 365 nm (UV-A region). We have had great luck with the 365 nm bulb and barely any reaction with the 254 nm bulb. When we use these, we have also employed 3×3″ Texwipes as well.
In a lab environment with many students, we have had the best results in doing this concurrently with other lab activities because there are a lot of hurry-up-and-wait processes here (drying the cloth, letting them “cook” in the sunlight). In practice, we run this lab in the same morning period as the polymer lab to give them enough to do and specifically to have activities that they can switch between straightforwardly.
Please share your experiences of what does and doesn’t work well. We intend this to be resource for teachers, students, and hobbyists alike! Send all feedback to Grimm.

 Research
 Energy
 People